How to Measure a Doorway Without Mistakes
When it comes to buying or installing a new interior door, accuracy is everything. A single wrong number can turn a stylish renovation into a frustrating headache. That’s why professional designers and installers often emphasize the importance of taking precise doorway measurements before you even think about placing an order. If you want to explore modern interior doors that perfectly match your measurements, you can check this collection: https://indigodoors.com/
Measuring may sound simple, but in reality, a doorway hides many nuances. Walls may be uneven, floors are rarely perfectly level, and even the tiniest gap can make a door squeak or refuse to close properly. Imagine trying to bring harmony into your home, but your door refuses to cooperate because of one wrong centimeter.
That is why learning how to measure correctly is so crucial. Accurate preparation is the invisible bridge between the dream of a new interior and the comfort of real everyday life.
Why accurate measurements matter
A doorway is like the frame of a painting—it must fit seamlessly with the canvas. An error as small as half an inch can cause endless problems later. Imagine investing in a beautiful modern door only to discover that it won’t close, or that the frame leaves an unsightly gap. Correct measurements save money, time, and nerves.
When you measure properly, you’re not just preparing for a new door. You’re laying the foundation for silence in the evenings, privacy when you need it most, and comfort that lasts for years. Every time you close the door behind you, you’ll feel the result of this careful preparation. Even more, precise measuring transforms a house into a polished and harmonious home, where every detail works in your favor.
“A properly measured doorway is not just a technical detail—it’s the foundation of comfort and harmony in your home.”
Tools you’ll need
Before starting, prepare the right instruments. They don’t have to be professional-grade, but accuracy matters.
- Tape measure with a clear scale
- Level (bubble or laser)
- Carpenter’s pencil or marker
- Notepad or phone for notes
Each tool has its role. A tape measure reveals the real numbers, the level shows hidden unevenness, and a simple pencil turns your calculations into visible reminders. Many people skip the level, but it’s the secret to spotting tilted walls and floors that later create crooked frames. A notepad or even your smartphone ensures no measurement is lost in the flow of work.
Think of it as packing your bag before a long journey. With the right tools at hand, every step feels easier and more reliable, and you don’t have to stop halfway to search for what you forgot.
Step-by-step measurement guide
Now let’s go through the process together. If you follow these steps, every number will work in your favor, and your new door will feel like it belongs. Measuring is not a race; it is more like a ritual where precision is your best companion.
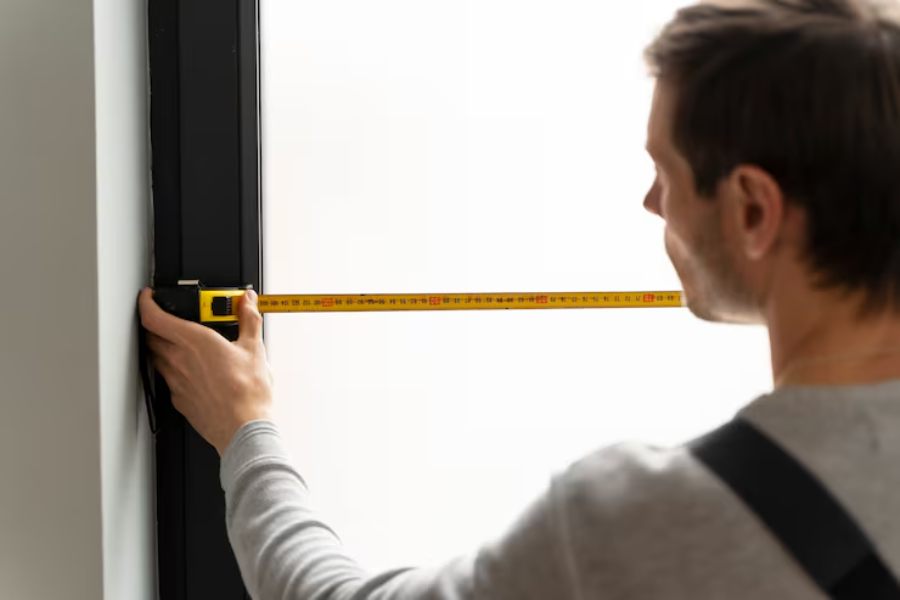
Step 1 – Measure the width
Measure the width of the doorway in three places: top, middle, and bottom. Walls can curve slightly, so record the smallest value. That’s the number you’ll use. This habit protects you from gaps that might later ruin the impression. Take your time and repeat it twice, because width is the first and most visible parameter everyone notices.
Step 2 – Measure the height
Now measure the height on the left side, in the center, and on the right side. Floors are often uneven, and this step helps avoid surprises. Again, take the smallest measurement. By doing this, you respect the reality of your home, not just the ideal you imagine. It is better to lose a minute now than to redo an entire installation later.
Step 3 – Check wall thickness
Doors need frames, and frames need to match wall thickness. Measure from one finished surface of the wall to the opposite side. Don’t forget that plaster or tiles in bathrooms can add a few millimeters. If you skip this, the installation may look unfinished, as if the frame doesn’t belong. Remember, even tiny details create the overall impression.
Step 4 – Look for irregularities
Check if the walls are perfectly vertical and if the floor is level. If they are not, note the difference. Professional installers can adjust the frame, but only if they know the exact deviation. What looks like a tiny slant today may become a stubborn creak tomorrow. A level will reveal what the naked eye often misses.
Step 5 – Record and double-check
Write everything down clearly. It’s better to repeat the process twice than to redo an entire installation. A notebook full of numbers may seem boring, but those notes are the silent guardians of your comfort. Double-checking gives you calmness, and calmness always saves both time and nerves.
Common mistakes to avoid
Even the most diligent homeowners sometimes overlook details. These mistakes are easy to make but just as easy to avoid.
- Measuring only once instead of three times
- Forgetting about uneven floors or sloping walls
- Rounding numbers up for “convenience”
- Ignoring the wall thickness
- Trusting old blueprints instead of measuring anew
“The most expensive mistake in renovations is assuming instead of measuring.”
Each of these errors may sound small, but they multiply. A rounded number leads to a misfit, a forgotten slope creates noise, and reliance on old plans results in doors that simply don’t fit. Paying attention now prevents frustration later.
Checklist for doorway measurement
Keep this checklist handy before ordering your doors. It will guide you step by step and protect you from the most common errors.
- Width measured at three points
- Height measured at three points
- Smallest values written down
- Wall thickness recorded
- Level used to check walls and floors
- Notes double-checked
Having this checklist is like carrying a map through unfamiliar territory. It keeps you from getting lost in numbers and reminds you what truly matters. Place it in your pocket, on your desk, or even tape it to the wall while you work—the more visible it is, the better results you’ll achieve.

Charles Poole
Charles Poole is a versatile professional with extensive experience in digital solutions, helping businesses enhance their online presence. He combines his expertise in multiple areas to provide comprehensive and impactful strategies. Beyond his technical prowess, Charles is also a skilled writer, delivering insightful articles on diverse business topics. His commitment to excellence and client success makes him a trusted advisor for businesses aiming to thrive in the digital world.